

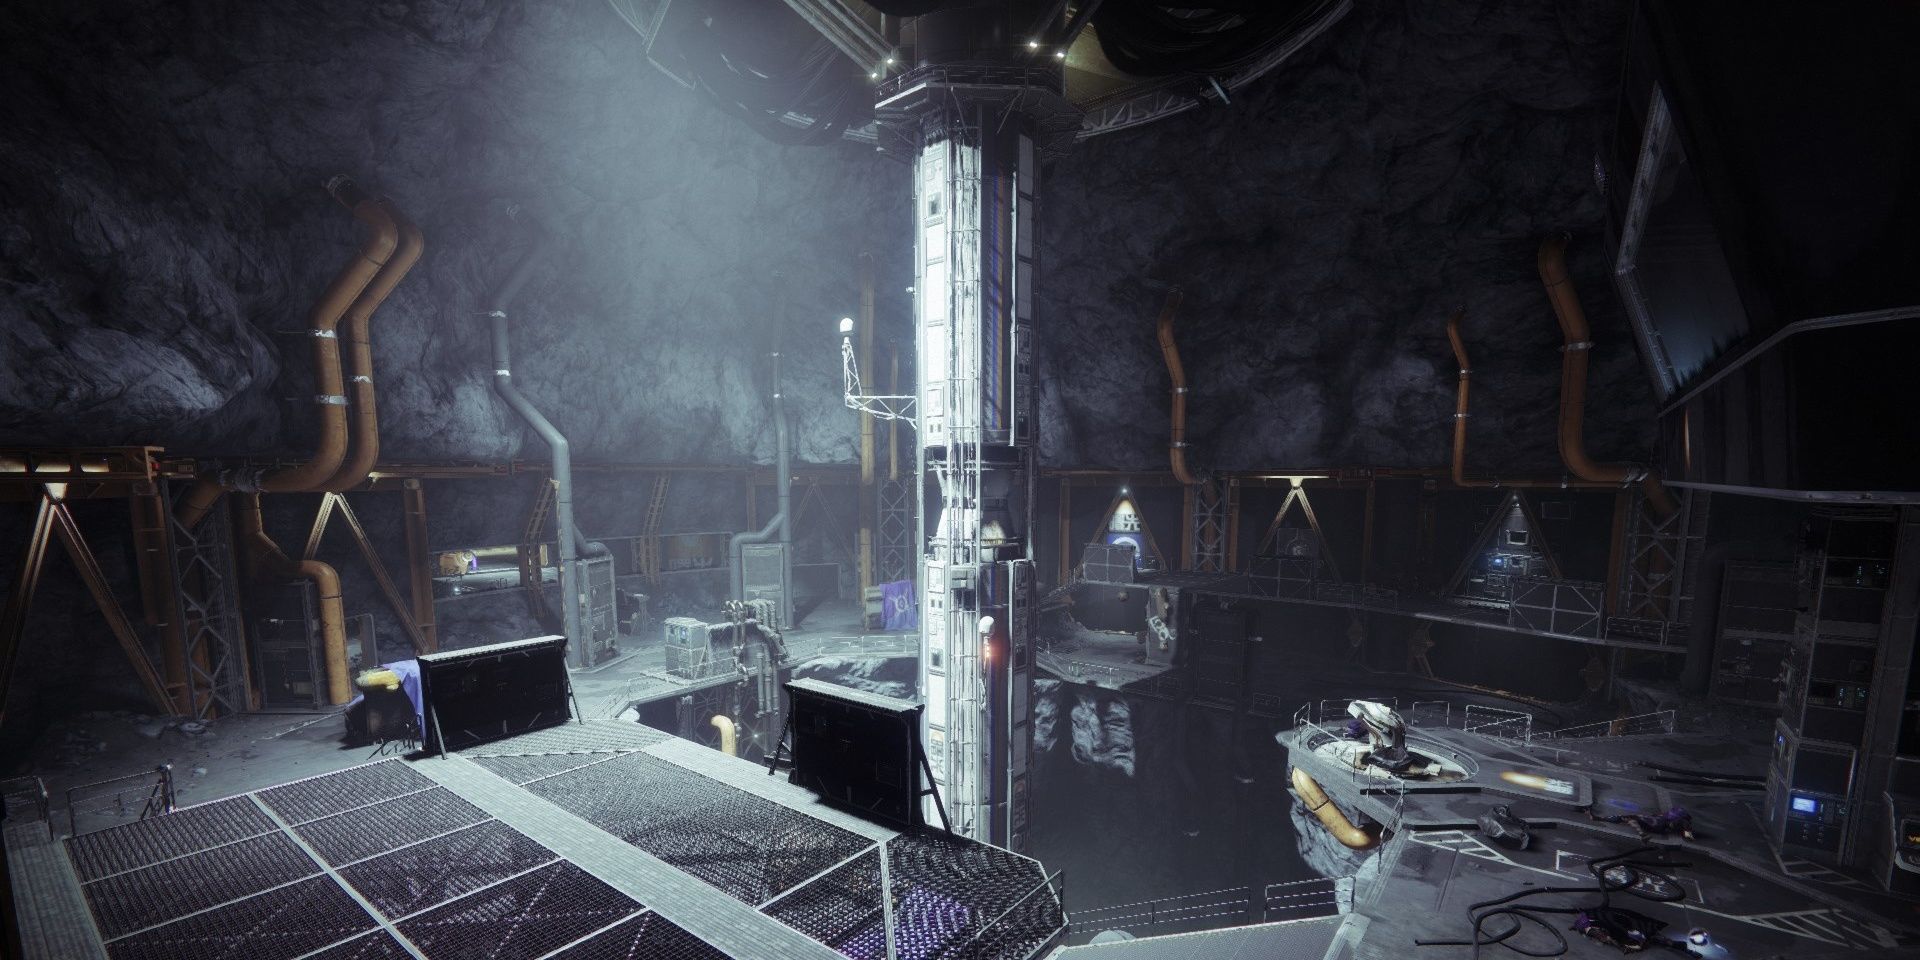
K1 Communion Lost Sector Location
Quick Links
- Modifiers And Recommended Loadout
- A Detailed Guide: Entrance
- A Detailed Guide: Clandestine
- A Detailed Guide: Corridor
- A Detailed Guide: Dominate Arena
All iv of Destiny 2's Moon Lost Sector were added to the Legendary Lost Sector pool in Flavor of the Chosen. These Lost Sectors are much longer than most, and they are packed with enemies. Completing these on Master difficulty will be no small-scale feat.
K1 Communion is arguably the easiest Lost Sector of the bunch. But one shielded enemy exists in this entire Lost Sector, meaning yous only accept to focus on killing standard Fallen and Champions. If you lot have the right gear and mindset, this should only take a few tries to consummate. Here is a consummate guide to the K1 Communion Master Lost Sector in Destiny ii.
Updated July 25th, 2021, past Charles Burgar: New Artifact mods and Exotics have fabricated this Lost Sector much easier to articulate in Flavor of the Splicer. We've updated this guide to recommend a new set of weapons that align with this flavor'southward Anti-Champion mods. A new tabular array of contents and organizational changes should make information technology much easier to read this guide besides.
Modifiers And Recommended Loadout
K1 Communion focuses more on throwing dozens of adds at yous than utilizing shielded foes or Champions. As long as y'all can quickly acceleration hordes of Fallen, this Lost Sector should give you lot trivial trouble. Hither'southward what you lot're up against:
K1 Communion Modifiers
| Master Difficulty |
|
| Champions |
|
| Faction Modifier |
|
| Destination Modifier |
|
| Chief Modifier |
|
| Burn |
|
| Shields |
|
While at that place are Solar shields present on Heavy Shanks, just one Heavy Shank exists in this Lost Sector. Because of this, yous can mainly focus on countering Champions and dishing out harm. But be certain to have some means of breaking that Solar shield when you achieve the end of the Lost Sector.
Bracket
| Hunter |
|
|---|---|
| Warlock |
|
| Titan |
|
Weapons
| Seventh Seraph Officeholder Revolver | It can stun Overload Champions this season and spawn Warmind Cells. |
| Solar Rocket Launchers | Lawmaking Duello, Optics of Tomorrow, and 2-Tailed Trick are excellent choices for quickly killing Champions. |
| Scout Rifles | Anti-Barrier Scout Rifles are fantastic for this Lost Sector. |
| Xenophage | Solar singe makes Xenophage hitting similar a truck.
|
Mods
| Wrath of Rasputin | Solar AoE damage can spawn Warmind Cells. |
| Global Accomplish | Your Warmind Jail cell explosions embrace a larger radius. |
| Breach and Articulate | If you're going to run Anarchy or Witherhoard, this mod is mandatory.
|
A Detailed Guide: Entrance
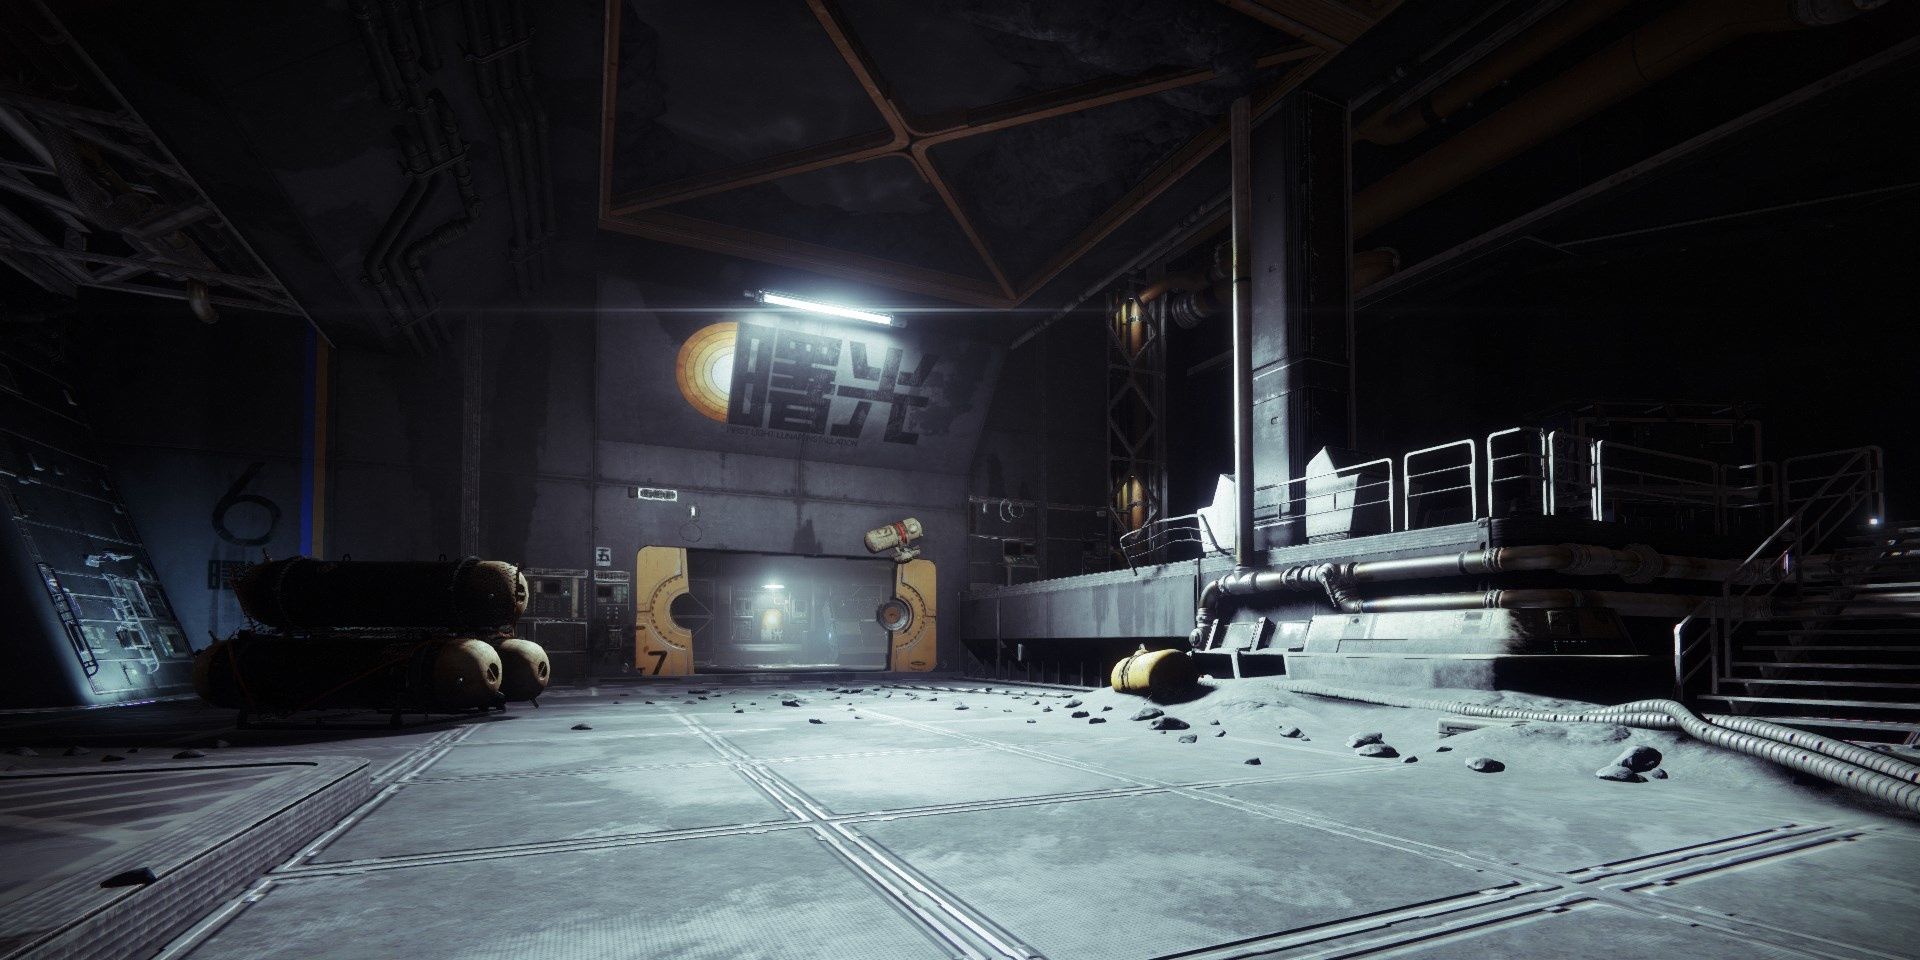
Entrance Enemies
- 1 Overload Helm
- I Barrier Servitor
- Vandals
- Dregs
- Shanks
Right as you enter the first room, pay attention to your right; an Overload Captain will push yous when it detects you. Before you kill the Captain, kill any Vandals in the room. Once defeated, focus on the Overload Captain before you defeat the Dregs. If y'all don't, a Barrier Servitor will spawn and make the Captain invincible.
Pro Tip: Overload Rounds affect Champions while they're immune or recovering from a stun. Right every bit an Overload Captain gets upwardly from being stunned, shoot an Overload Round into them to delay its health regeneration and prevent information technology from teleporting.
When the Vandals and Captain are dead, a Barrier Servitor will drop downwardly from the ceiling alongside a few Fallen enemies. Take down its shield from the dorsum of the room, using a Scout Rifle[] or Eriana'south Vow to do so.
In one case all of the enemies are dead, push into the hallway. Have downward the scattering of Dregs and Shanks, and so keep to the next arena.
A Detailed Guide: Cloak-and-dagger
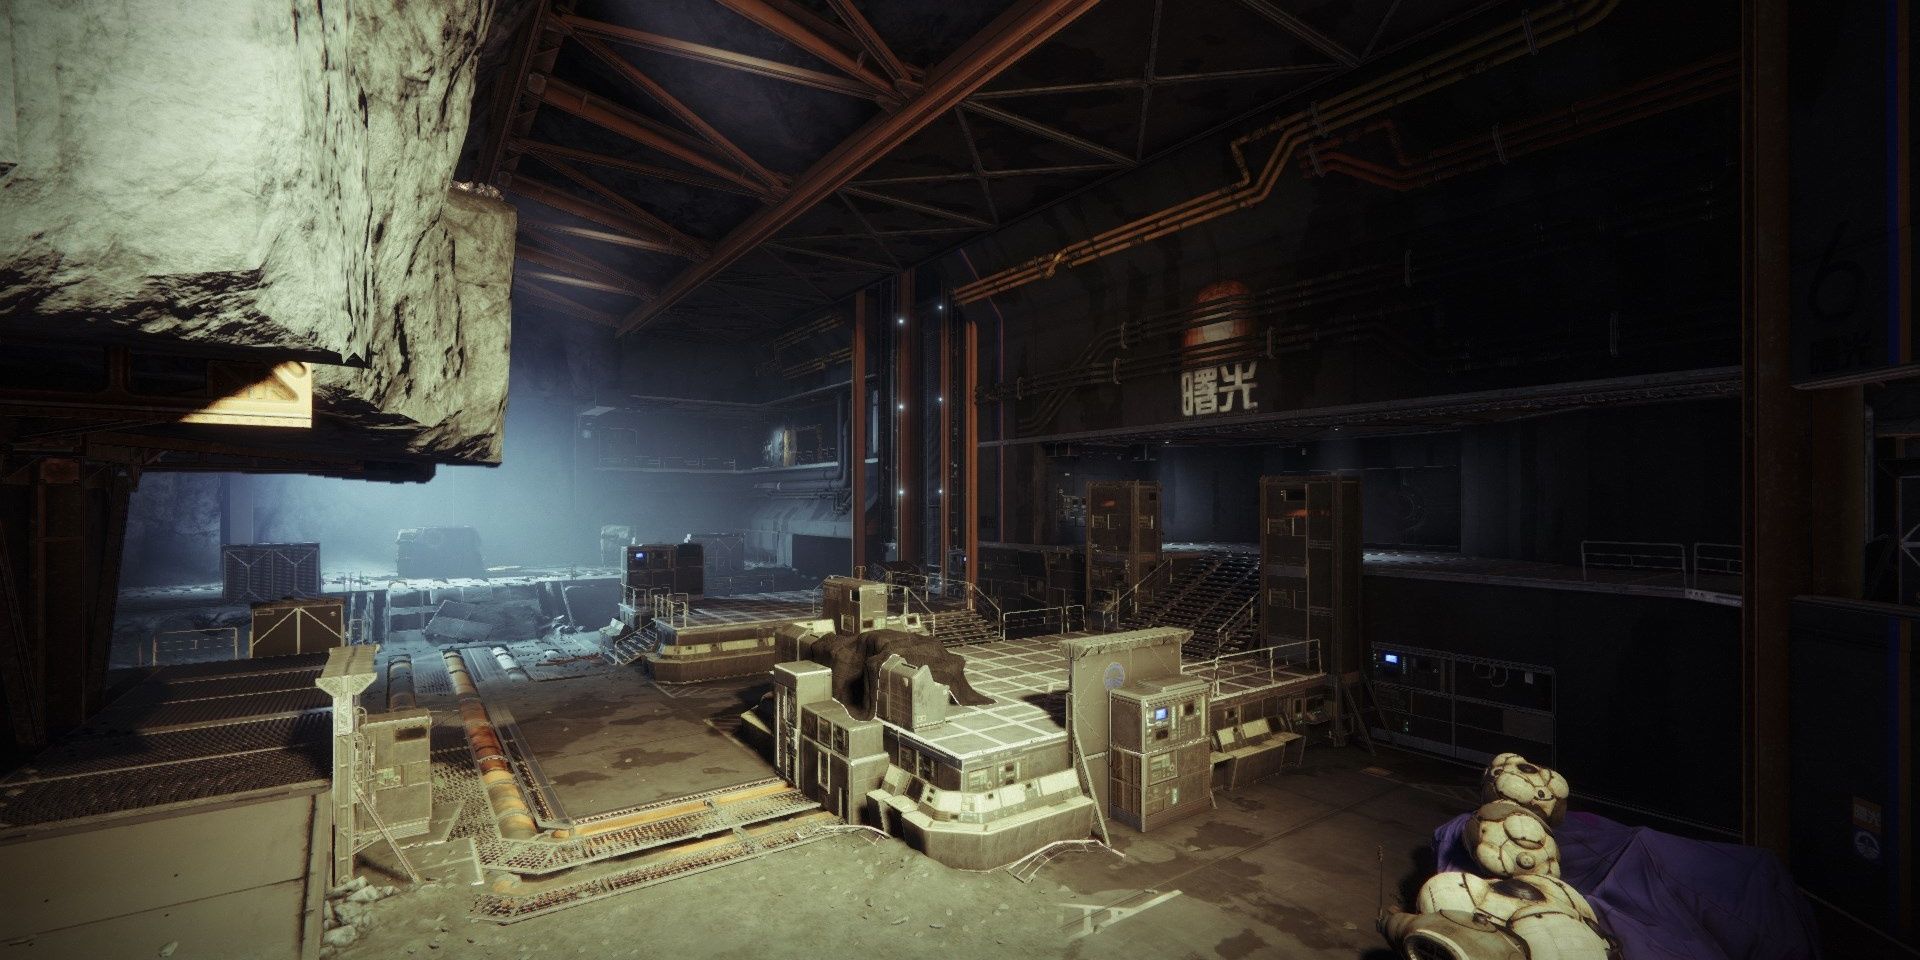
Archway Enemies
- One Overload Captain
- Two Barrier Servitors
- Vandals
- Dregs
- Shanks
- Wretches
Directly below you will be an Overload Captain, a few Shanks, and some Dregs. Focus on the Overload Captain first, disrupting information technology from a distance before unloading your Heavy ammo into information technology. Destroy the Shanks, then drop downwards to notice some cover. Wretches will button you directly beyond from the archway. A single grenade will have intendance of them.
Across the arena will exist a Barrier Servitor and a ring of Fallen Vandals. These enemies can one-shot y'all if y'all're underleveled, so continue your distance. A single Warmind Cell will brand short work of the Vandals. If they're immune, break the Barrier Servitor's shield to remove the amnesty tethers. Kill the snipers, so destroy the Servitor.
When virtually of the enemies are expressionless, an additional wave of Fallen will spawn. In this wave will be a Barrier Servitor. Once again, destroy the Servitor before you deal with the adds. Stick to the back of the room, pick off the enemies, then catch whatsoever ammo bricks on the basis before proceeding.
A Detailed Guide: Corridor
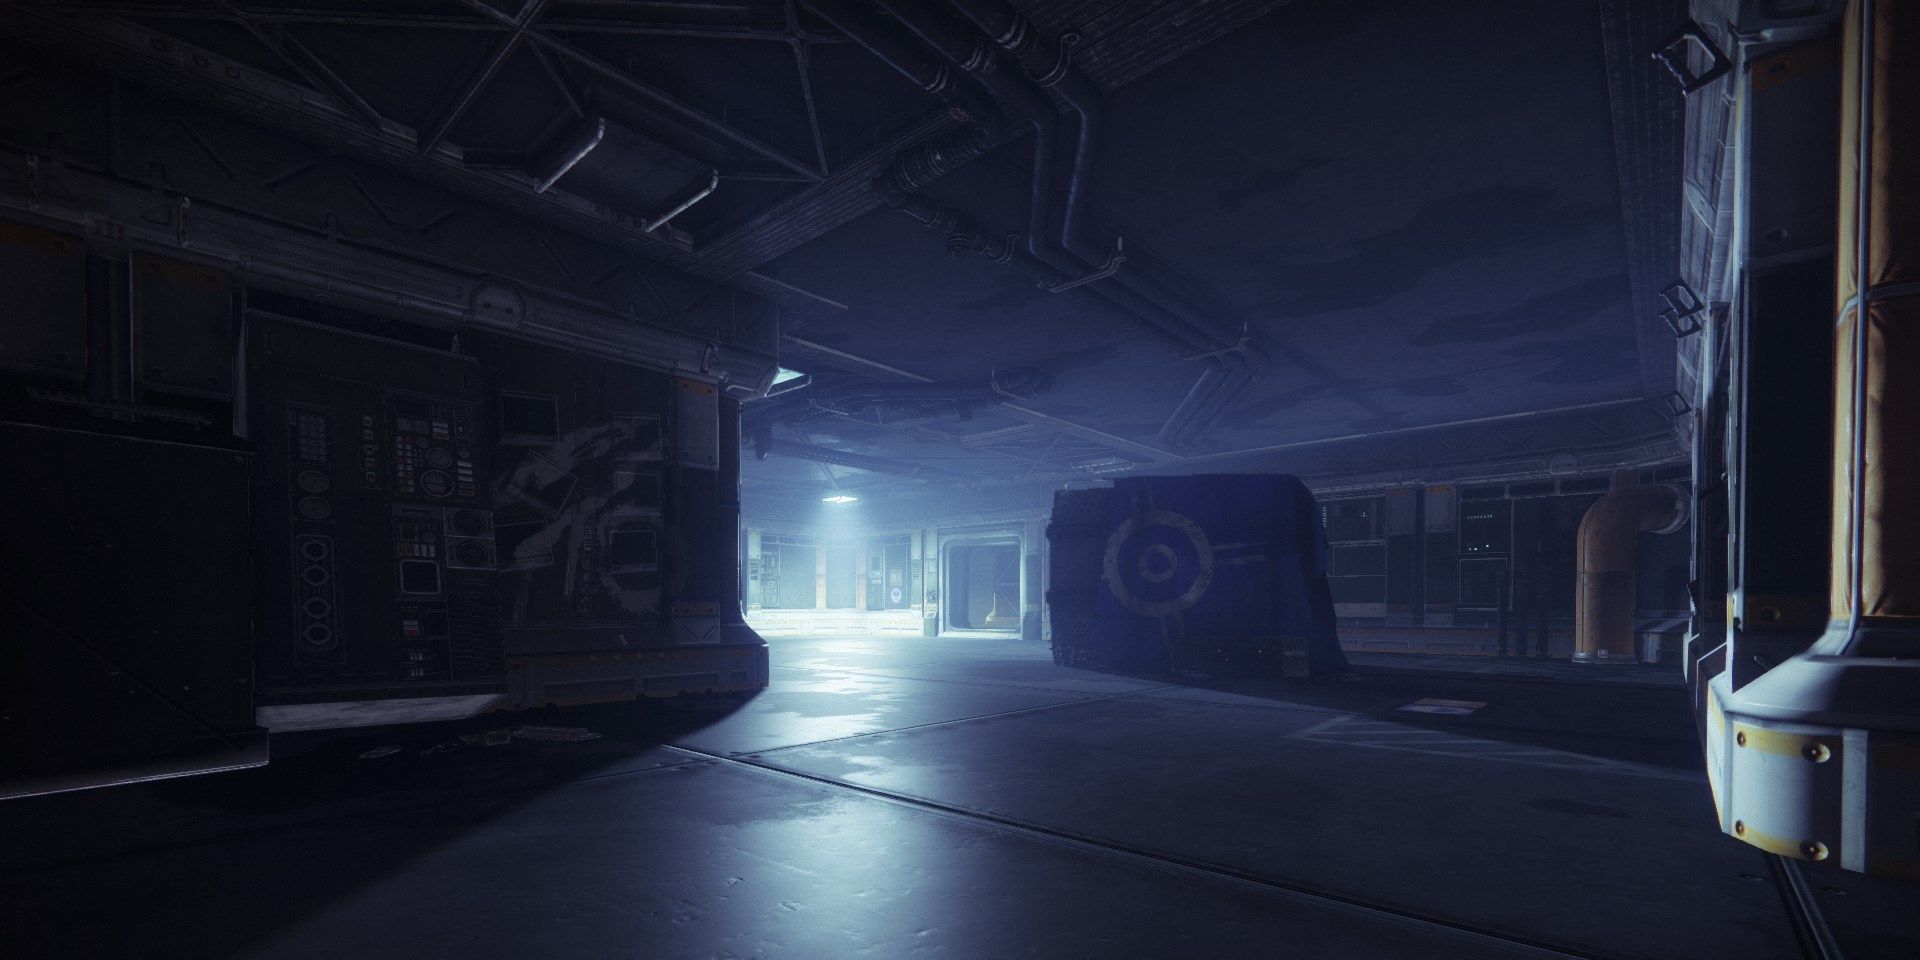
Corridor Enemies
- Two Overload Captains
- Marauders
- Vandals
- Dregs
- Wretches
2 Marauders will guard the entrance to a long corridor. Right by those 2 enemies volition be an Overload Captain. Kill the Marauders, get the attending of the Helm, then double back to the archway. Stun the Champion with your Overload weapon, then take him down with a Heavy weapon.
In the next room will exist even so some other Overload Captain alongside Vandals and Dregs. A grenade or a rocket works wonders here, immigration out nearly of the enemies. Over again, stun the Champion before killing him. Clean up the enemies in the side by side room. A few Wretches will spawn when you achieve the stop of the corridor. One grenade a Warmind Jail cell will do the flim-flam.
A Detailed Guide: Dominate Arena
Dominate Loonshit Enemies
- Two Overload Captains
- Two Barrier Servitors
- I Captain Dominate
- Ane Heavy Shank
- Shanks
- Tracer Shanks
- Explosive Shanks
- Dregs
- Vandals
- Wretches
- Marauders
Things are going to go tough in this final arena. Experience free to use your Super, Heavy ammo, whatever it takes to stay alive.
Right every bit you enter the concluding room, an Overload Captain will rush you. Focus on taking information technology down equally fast as possible, and then direct your attending to the Vandals. Once defeated, take out the 2nd Overload Captain at the cease of the room. This room will also take a Heavy Shank with a Solar shield, so exist prepared to destroy information technology. Killing most of the Fallen in this room will activate an alarm arrangement, turning the room red while spawning a boss.
Don't damage the boss until you've dealt with the adds. Kill near of the Fallen in the room, then find a safe spot to damage the boss from. When the boss loses a 3rd of his health, a Barrier Servitor will spawn. It is imperative y'all take this Servitor out. Endeavour to go on your distance while fighting information technology, fugitive equally many projectiles equally possible. Impale the Champion, then the Fallen adds, then the dominate.
When the concluding boss has lost 66% of his HP, an additional Bulwark Servitor will spawn on the other end of the room. Motion to a safe location and damage from a altitude. Impale all of the adds before killing the dominate.
One final wave of Fallen volition spawn when the boss is on the brink of death. While no Champions spawn, a torrent of Explosive Shanks will appear. Double back to the entrance, picking them off one by one. Make clean up the remaining enemies, then claim your loot. You'll know the coast is clear when the red lights dissipate.

K1 Communion Lost Sector Location,
Source: https://www.thegamer.com/destiny-2-k1-communion-master-lost-sector-guide/
Posted by: godboltwerom1965.blogspot.com
0 Response to "K1 Communion Lost Sector Location"
Post a Comment